HOW I MAKE MY PENS
Style of Pens
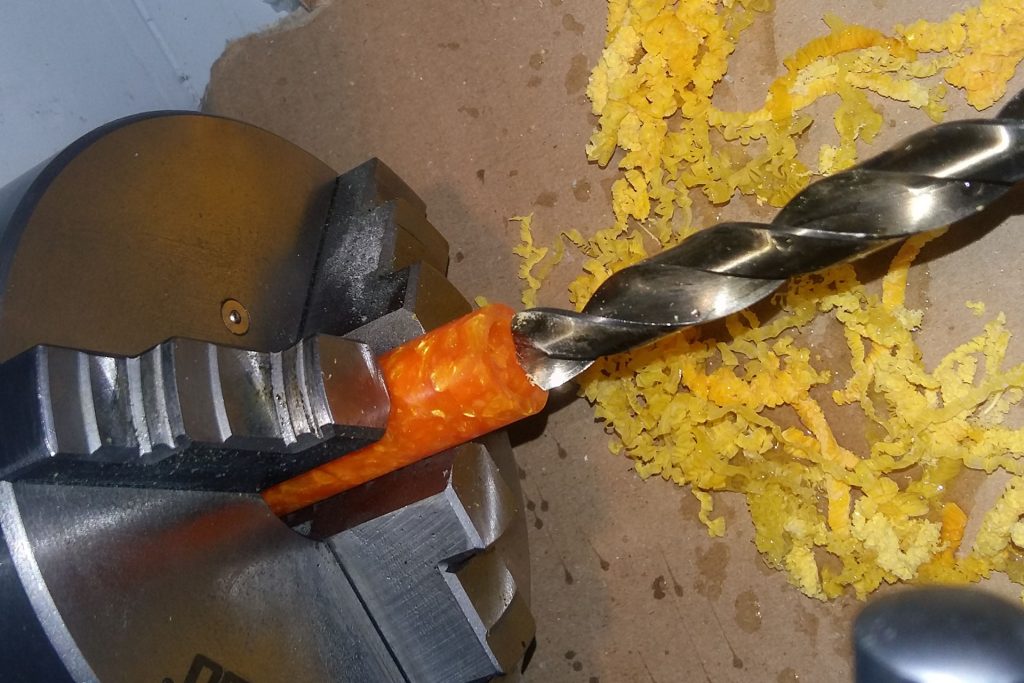
First, there are quite a number of pen styles to choose from. I have selected a few that I personally like, that fit good in the hand, that work reliably and have a good canvas from which to work. This is important to me, as I view the entire pen a work of art, not just one component.
Each style has a different technique and a different way of approaching the way I make the pen. Some styles start with larger pieces of wood (called blanks), others use smaller pieces. Some require tenons (a piece of wood with a smaller diameter), others don’t. Some require difference sizes of holes in the cap and body, some are the same. All have a difference in hardware (the metal parts) that requires special attention to the details.
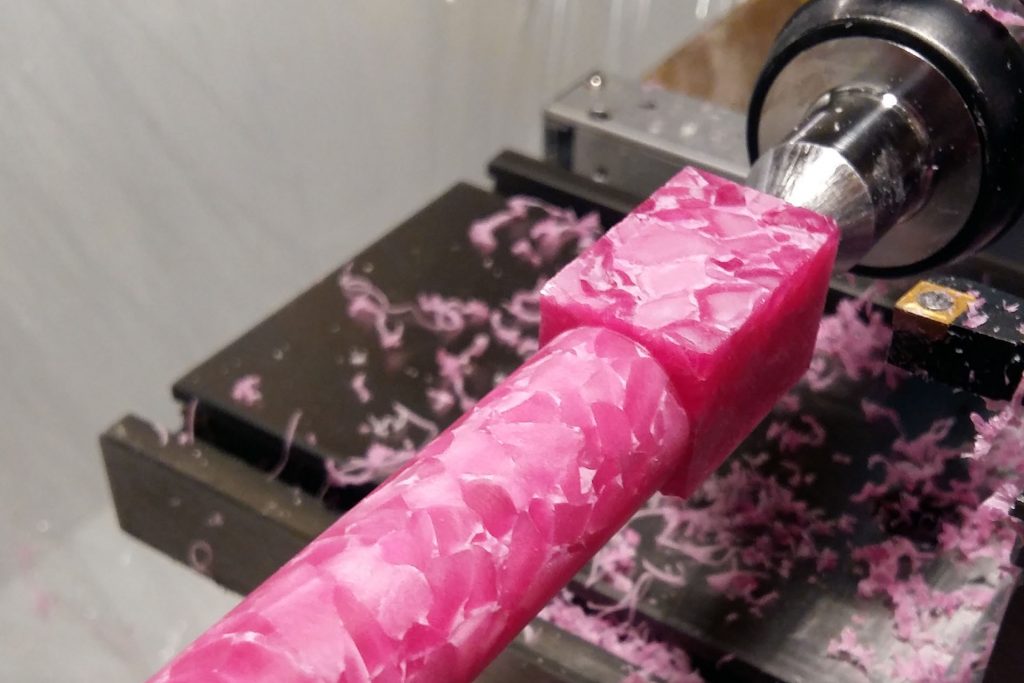
Selection of Materials
Pens can be made out of a variety of materials. I make them out of wood, acrylic, resins, hard surface materials, exotic materials, and I even hand paint some. Each type poses a unique challenge when turning. Every new pen starts with the proper selection of materials; looking for that special piece of wood, grain, color or texture that will make a work of art. Careful selection of the material and then proper planning on how and where to cut and shape the blank, makes a big difference to the final product.
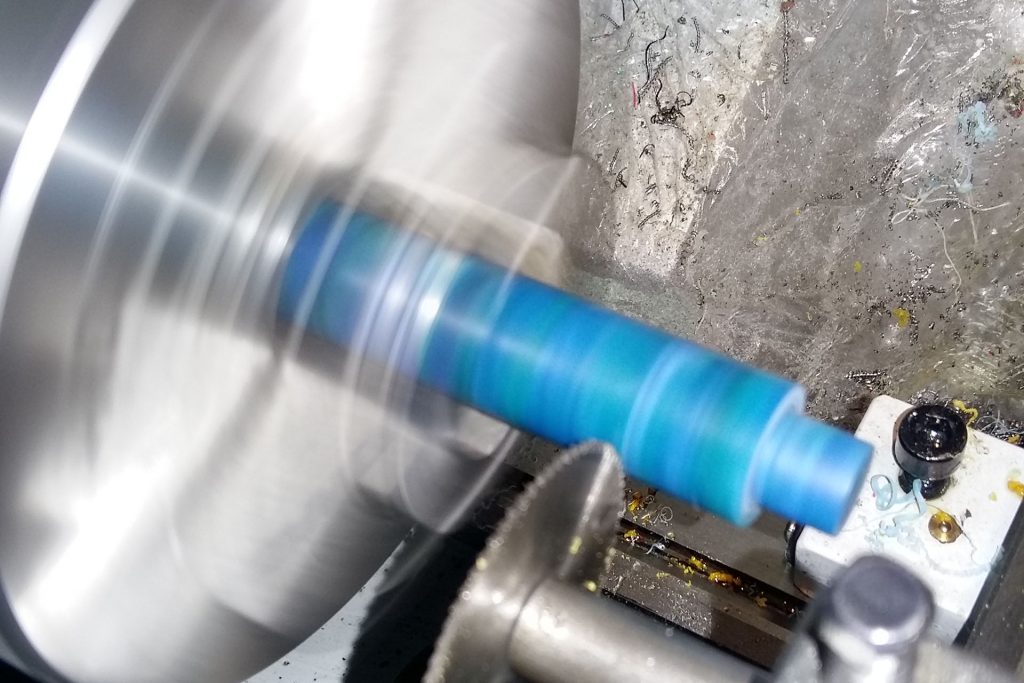
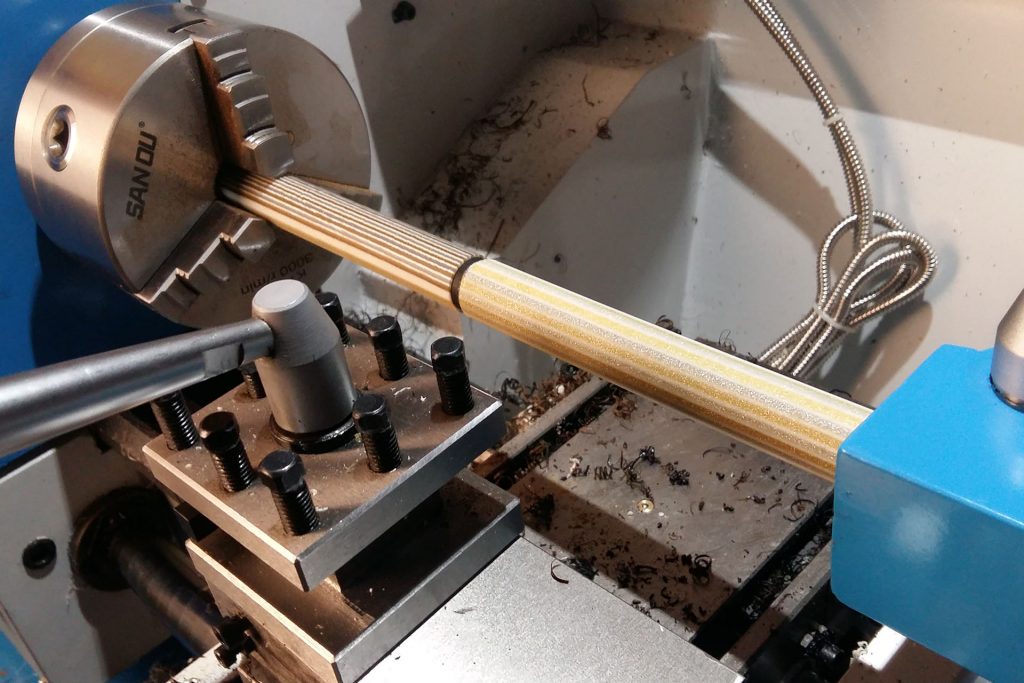
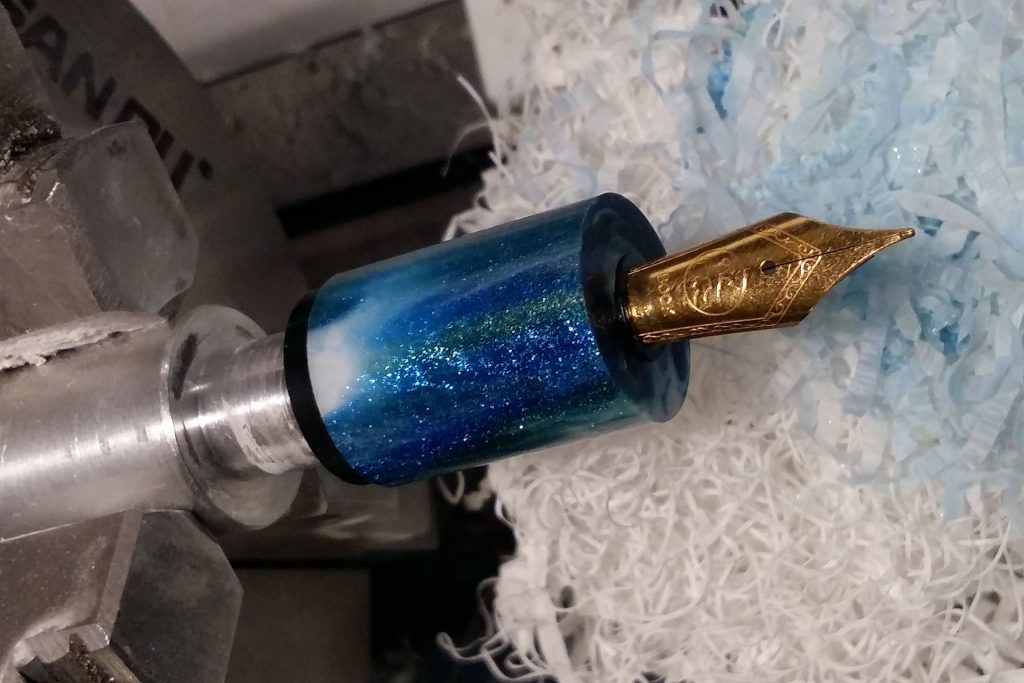
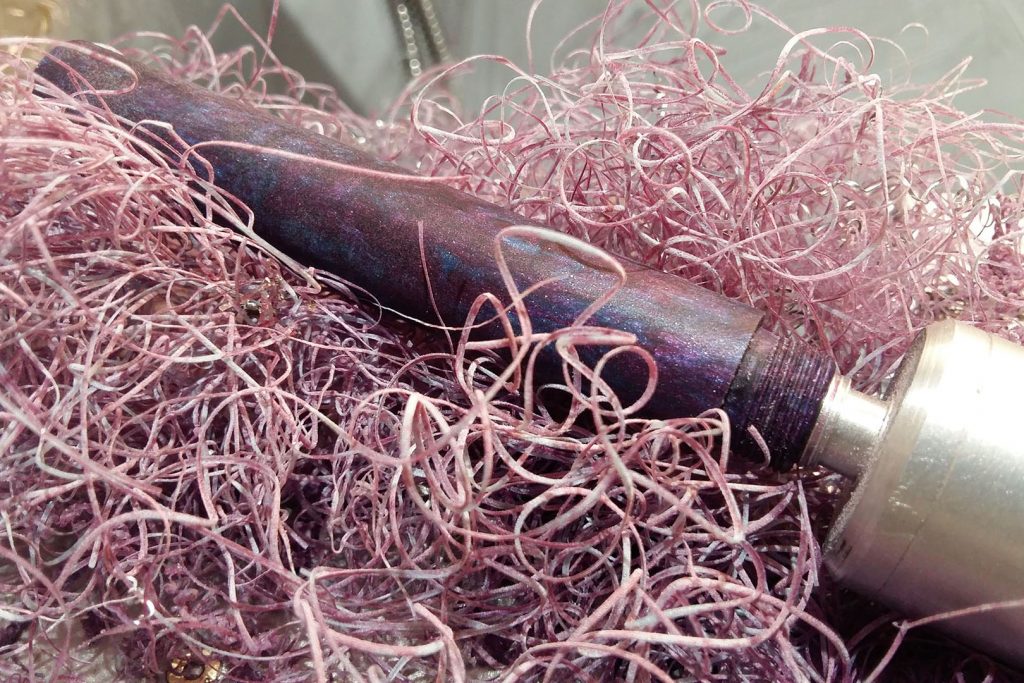
Turning the Pen
Then I put it on the lathe, and can start the turning process. There are a number of shapes that can be created. Pens can have a slight taper, a gentle bow or bulge, or a radical design. Not all pens even have to be turned. Some can have segmented sides. It really is up to me on how I want to shape the piece of wood, and I try to examine the blank and decide what will look the best. This hand shaping is critical as it determines the final look and function of the pen.
Finishing the Pen
Once the pen has been turned to shape, it is time to finish the pen. This is usually the most time consuming part of the process. Although it is straightforward to describe, it is difficult to master. Each pen is sanded many times. Some pen materials require more sanding (such as wood), others a little less (such as acrylic), but the basic process is to sand progressively through finer and finer grits. It’s important to take my time, cleaning the pen between each grit. I usually start with a sandpaper grit of around 180 and then progress up through 220, 320, 400, 600 using a dry sanding process.
Once this has been completed, a decision has to be made about the type of finish to apply to the pen. Finishes can vary from several types of friction finishes and polishes, to lacquers, to CA glue. I typically use the CA finish on wood, as it leaves a mirror finish, polishes well, and is very durable.
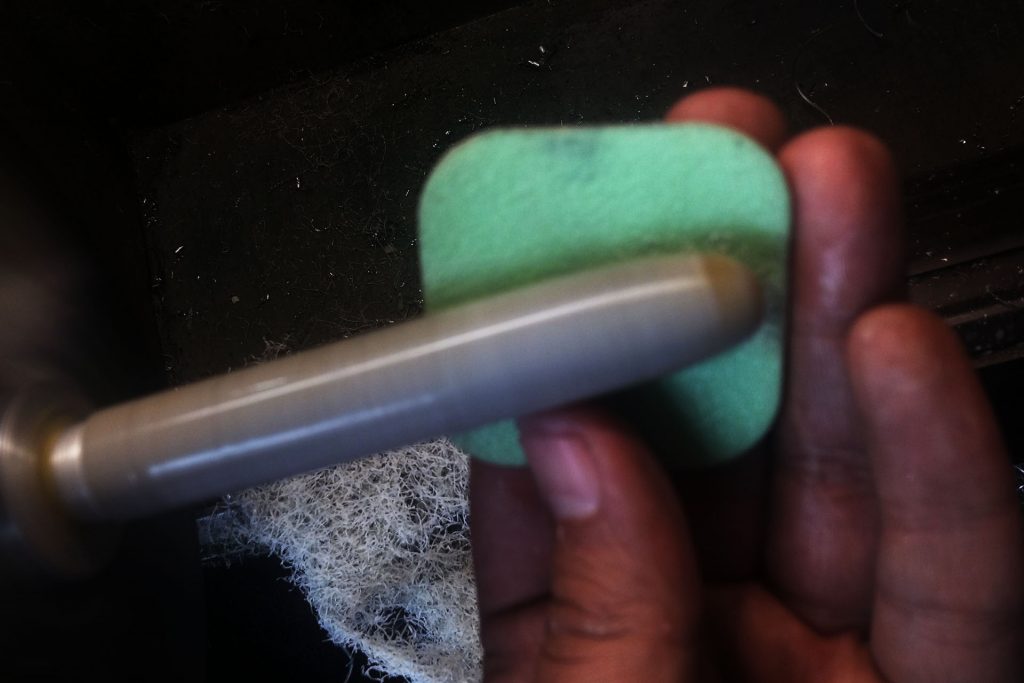
After the finish is applied, then the final sanding and polishing starts. Again, I use a series of progressively finer sandpapers and synthetic mesh products, but they are typically polished wet with water. Acrylics have the same process, but end with a liquid finish. I start with around 400, working up through 600, 800, 1200, 1500, 1800, 2400, 3200, 3600, 4000, 6000, 8000 and finally, 12000 grits. Yes, that’s 13 difference times my hands are polishing the finish.
The very last step is a buffing with a fine polish that makes the finish really pop. I have a 2 step buffing wheel system. I take it through the system 2 or 3 times to make sure you have the best glass like finish possible.
Pen Assembly
The last step is to assemble the pen using the selected hardware style, hardware color, and finish that I decided would best compliment or accent the pen. Assembly is straightforward, which consists mostly of pressing (or gluing) the parts permanently together, assembly of components, placing in the ink cartridge and a little hand polishing at the end.
The last thing I do is to take a picture of the finished piece.
Conclusion
I hope that this gives you a little insight into how I make the pens. Although it takes many hours to craft each one, it’s worth it knowing that their beauty can be enjoyed for years.